I have had these recipes around for quite a while, and I have enjoyed them on several occasions. However, this week, I made them with ‘clean-eaters’ eyes. What I saw delighted me! These are a delicious and healthy alternative to the traditional gyro. The chicken is worth making again and again, even if just for salads, or even on its own. It is THAT good! But put in a pita, with some tomato, red onion and a healthy dollop of tzatziki sauce, and you have got yourself a CLEAN and tasty Gyro!
I lived in the Chicago area for almost 20 years and knew exactly where to go for a tasty gyro. Even before my ‘clean-eating’ days…I was always kind of health-nut. But, occasionally (like once or twice/year maybe) I would treat myself to an authentic Greek gyro! Add fries, and you’re probably looking at about 1000 calories! Yikes! But, they’re so tasty! And if you have never had a gyro, then you have never experienced how a gyro can sort of ‘stick with you’ for a while. You’re guaranteed to offend someone (even yourself!) with gastric expulsions of air for the rest of the day after you have eaten one. It’s sort of the true test of a good gyro! So using that criteria…these are almost as good! 😉
Chicken for Gyros
2 cloves minced garlic
1 lemon – juiced (2-3 T)
2 t. red wine vinegar
2 T. extra virgin olive oil
2 heaping Tablespoons plain Greek yogurt
1 T. dried oregano
Salt and Pepper
1 ½ pounds (about 3 large) boneless, skinless chicken breast
*Combine all of the ingredients (except chicken) and whisk completely. Rinse chicken and pat dry. Place into a large Ziploc bag. Pour marinade over the chicken and refrigerate for 1 hr-1 day (the longer the better!)
Meanwhile…make the sauce!
Tzatziki Sauce
1 C. plain, Greek, non-fat yogurt (I LOVE Fage!)
1 cucumber, peeled and seeded
1 clove minced garlic
1 t. white wine vinegar
Salt and pepper
Squeeze of fresh lemon juice
Directions: Shred the cucumber or chop in food processor. Wrap in a paper towel and squeeze to remove as much water as possible. Mix together the yogurt, shredded cucumber, garlic, white wine vinegar, salt and pepper to taste, and lemon juice. *Refrigerate 30 minutes-1 day before serving to allow flavors to blend.
To cook the chicken – You could cook it in the skillet, BUT my favorite way to prepare it is under the broiler. I think it makes it perfectly juicy and delicious! You will have to know your own broiler though for this! It also will depend on the size/thickness of your breasts (well…not YOUR breasts, but you knew what I meant!) You could even butterfly the breasts first, to make sure that it cooks all of the way through. I have a gas broiler. I set mine 2 shelves from the flame and let it cook for about 7-8 minutes on each side, watching VERY closely to make sure they weren’t burning! When they looked done on the outside, I moved them down 2 racks and let them cook another 7-8 minutes. They were done perfectly! Then, definitely move them to a plate and let them sit for about 5 minutes before slicing to seal the juices inside.
Finally, you’re ready to slice and serve! Cut the chicken into strips, heat up some whole wheat pitas. Slice some red onion and tomato. Assemble each gyro with chicken slices, tomato, onion and a big plop of tzatziki sauce. 
Made this way: ½ whole wheat pita (80 calories) + 1 serving meat (90 calories) and 1 serving sauce (10 calories), you’ve got yourself a 180 calorie gyro!
Ok…now if you want to treat yourself a little read on. I grew up in Michigan and LOVED to eat at Olga’s in the mall. It’s like an Americanized gyro restaurant, but the bread is to die for! So I have this recipe for Olga bread that is an exact replica! The kids LOVE these and they are kind of fun to make. They’re going to cost you a few more calories, but if you’ve been working out and staying healthy, then you’re allowed the occasional splurge! These go quite nicely with the chicken! *I’d like to try these with all or partial whole wheat to clean them up a little.
‘Olga’ Bread
1 C. milk
¼ C. honey
¼ c. butter
1 t. salt
1 pkg. active dry yeast
¼ c. warm water
1 t. sugar
4 C. all-purpose flour, divided
1 egg
Directions– Scald milk (this means to heat until the milk just starts to bubble at the sides and then remove from heat!). Add honey, butter and salt to milk. Stir until butter is melted. Set aside to cool until lukewarm. Combine yeast, warm water and sugar. Stir until sugar is dissolved. Set aside.
Add 1 ½ cups of the flour to lukewarm milk mixture and beat well. Mix in egg and yeast mixture. Add remaining flour, a little at a time, until sticky dough is formed. Turn out on a floured surface. Knead about 2 minutes. Dough will be sticky, but don’t add more flour. Place dough in oiled bowl, turning once to oil whole surface of dough. Cover with plastic wrap and let stand in warm place until doubled in bulk. Punch down dough. Divide into 16 equal pieces. Roll each piece to a thin rough circle about 1/8 inch thick and 8-10 inches in diameter.
Heat a large dry skillet over medium-high heat. Do not use any oil. Cook for 15-20 seconds, flip and bake about 10-15 more seconds on the other side, until brown spots appear. Do not over-cook. Transfer to plate turning often as you add to the pile. Eat right away, or store in a plastic bag once cooled and refrigerate or freeze for later.
Makes 16- 1 Olga bread is 152 calories, so if you use this in place of the whole wheat pita, then you’re at 252 calories per gyro.

Add these to your meal plan! Tzatziki burps for everyone!


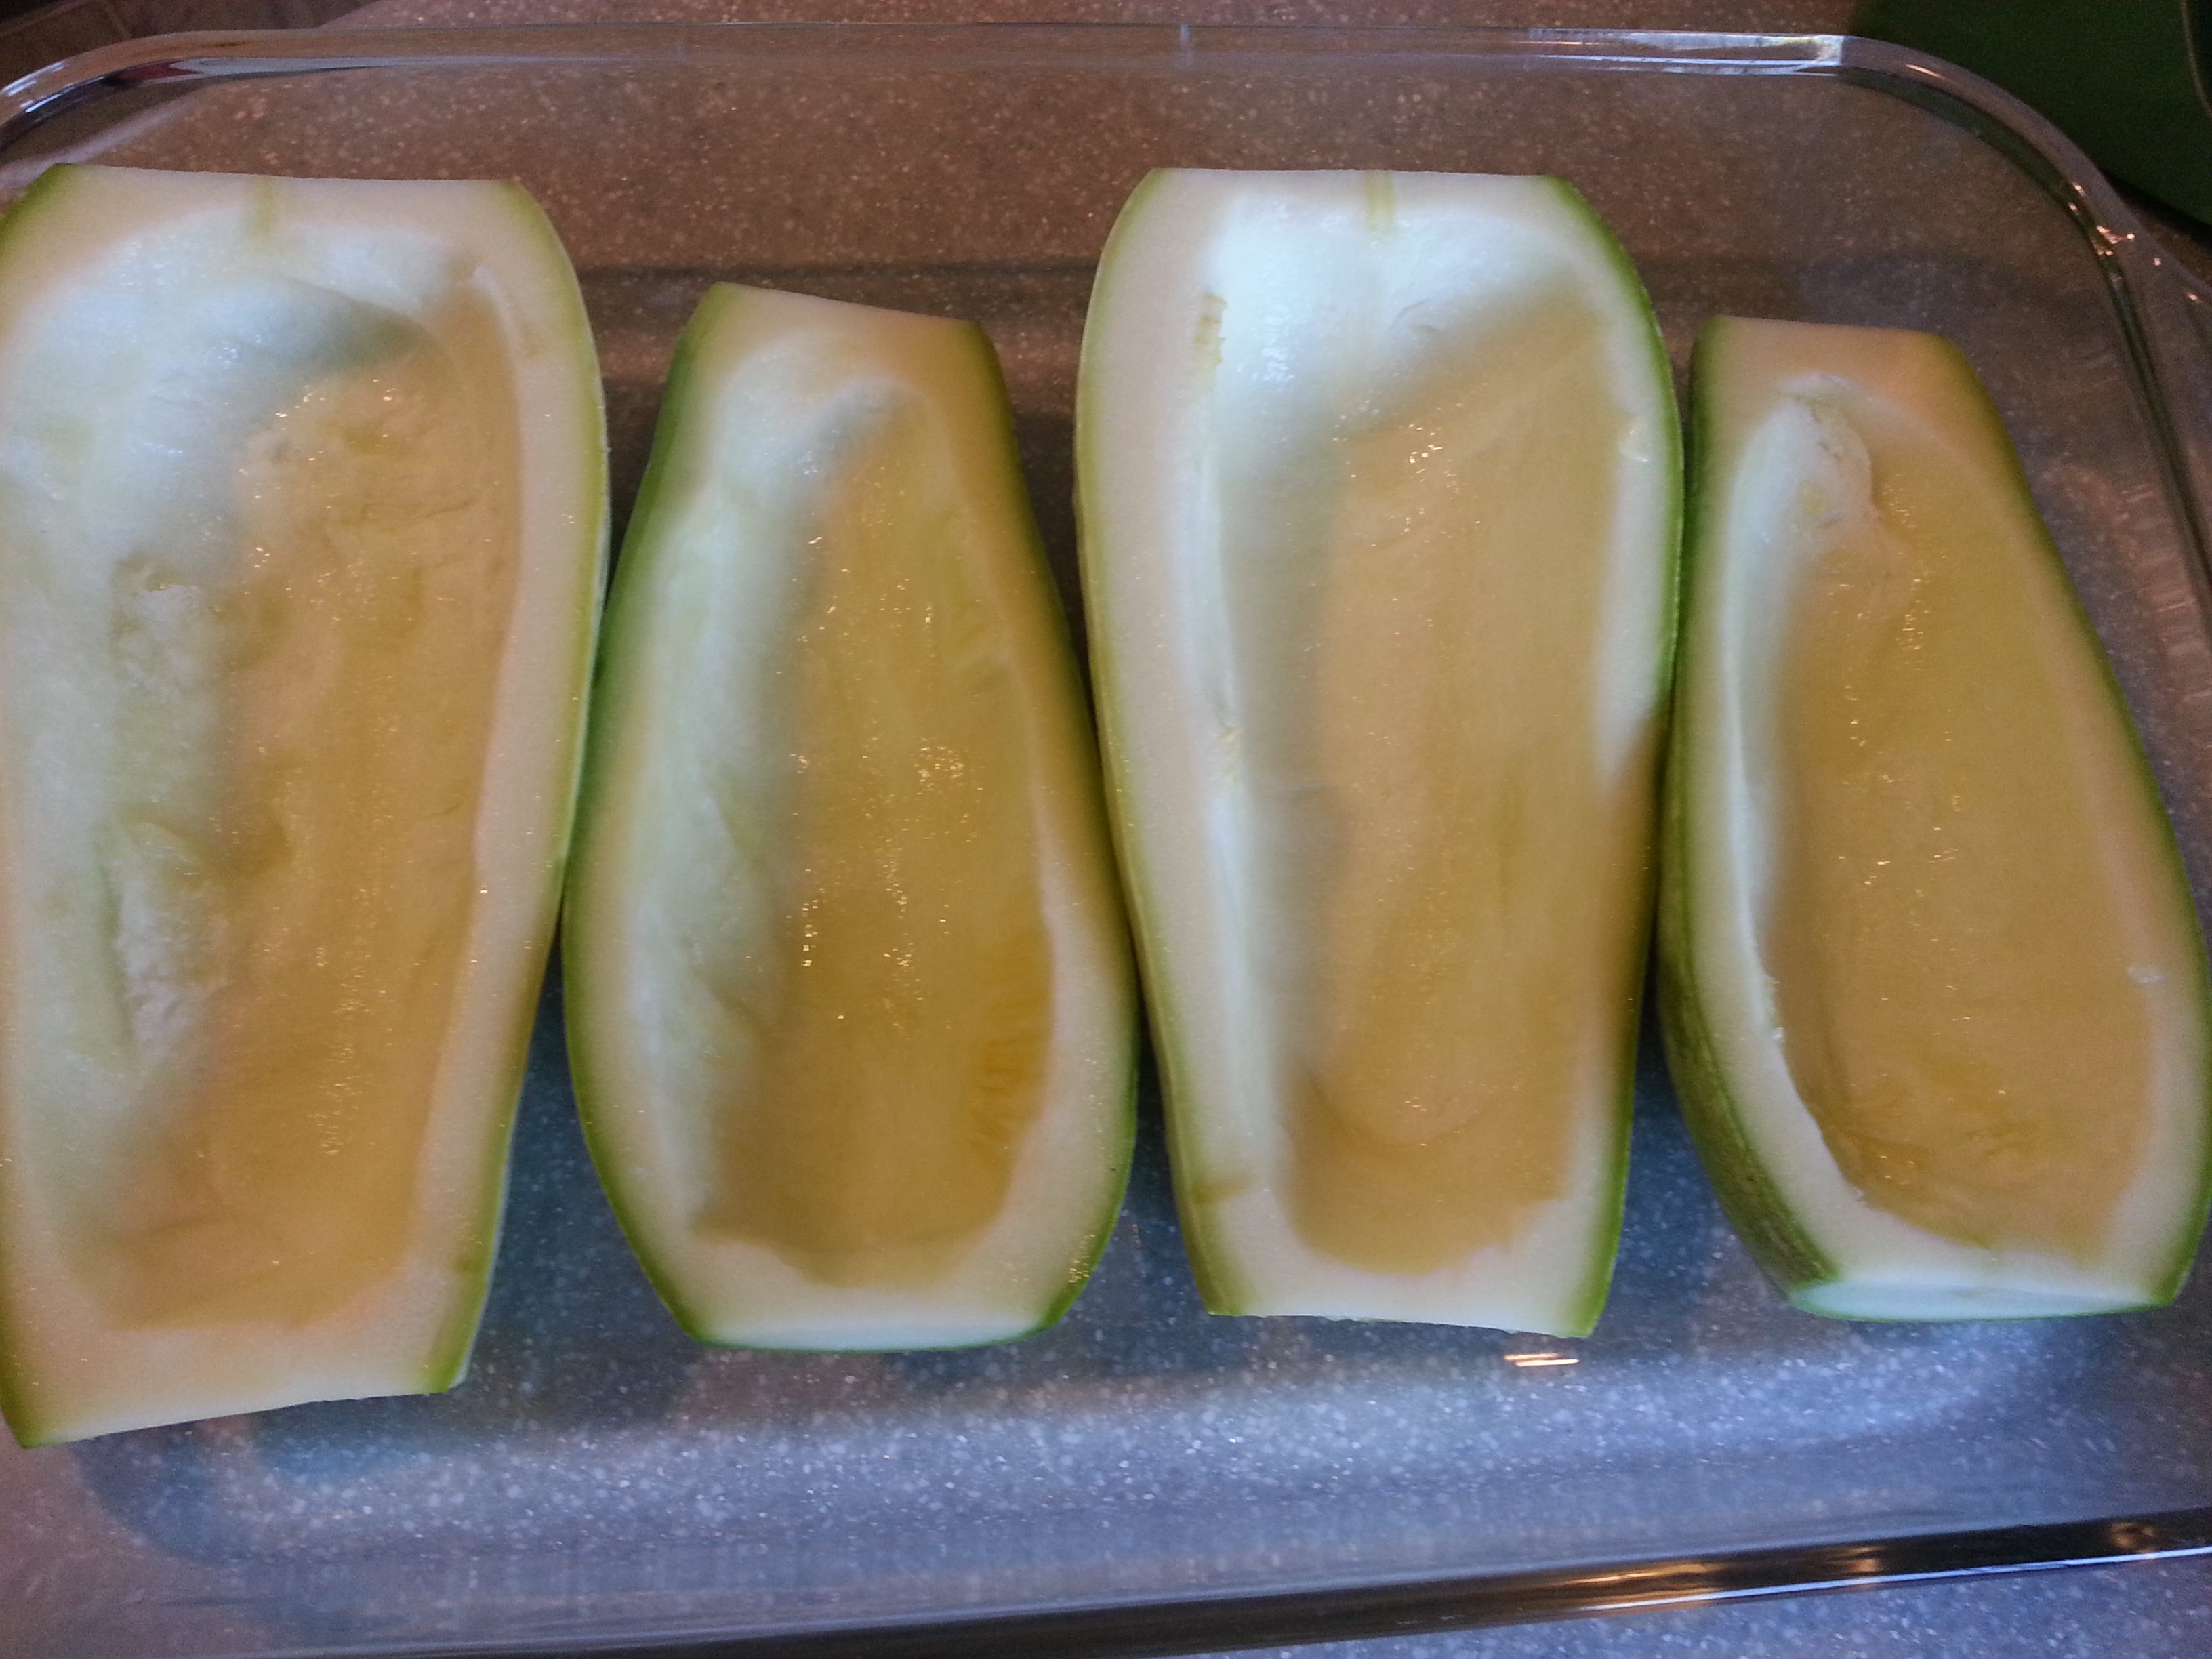
 Remove mixture to a large bowl and let sit until it begins to cool. Once cooled – add parmesan and egg white. Toss well. Using a spoon or measuring cup, fill the hollowed zucchinis with the meat stuffing, pressing firmly. Pour the remaining 1 C. of chicken broth into the bottom of the pan and cover tightly with aluminum foil. Bake for 35 minutes.